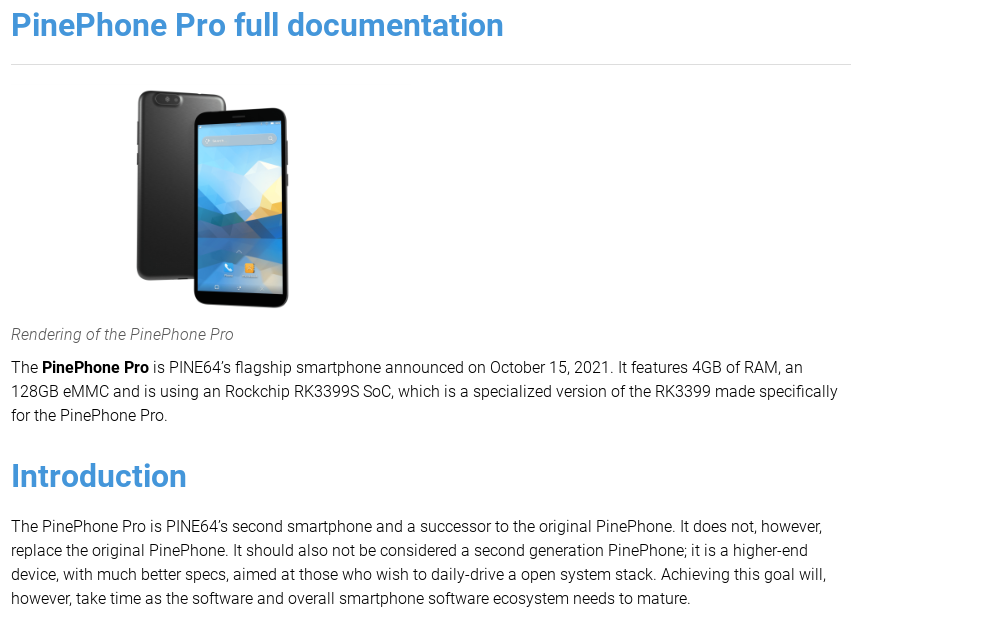
Introduction to the PinePhone and Our Problem
Flashing operating system images to SD cards is a common task for enthusiasts and developers, especially when working with single-board computers like the PinePhone or PinePhone Pro. While there are various methods and tools available for this process, users often encounter challenges when their primary device is a Chromebook.
The unique nature of Chrome OS and its security measures can make it frustrating to accomplish tasks that are typically straightforward on traditional laptops. In this comprehensive guide, I’ll walk you through my journey of figuring out how to use the Chromebook Recovery Utility to flash PinePhone images to SD cards, including the crucial step of manipulating the image file format to ensure compatibility.
The Challenge: Flashing SD Cards on a Chromebook
As an owner of a PinePhone Pro, I was excited to explore the various Linux distributions (distros) available for this mobile device. The process typically involves downloading the desired OS image and flashing it to an SD card, which then becomes the bootable media for the device. However, my primary device at the moment is a Chromebook, and I quickly realized that this seemingly simple task I usually manage with balenaEtcher presented a unique challenge.
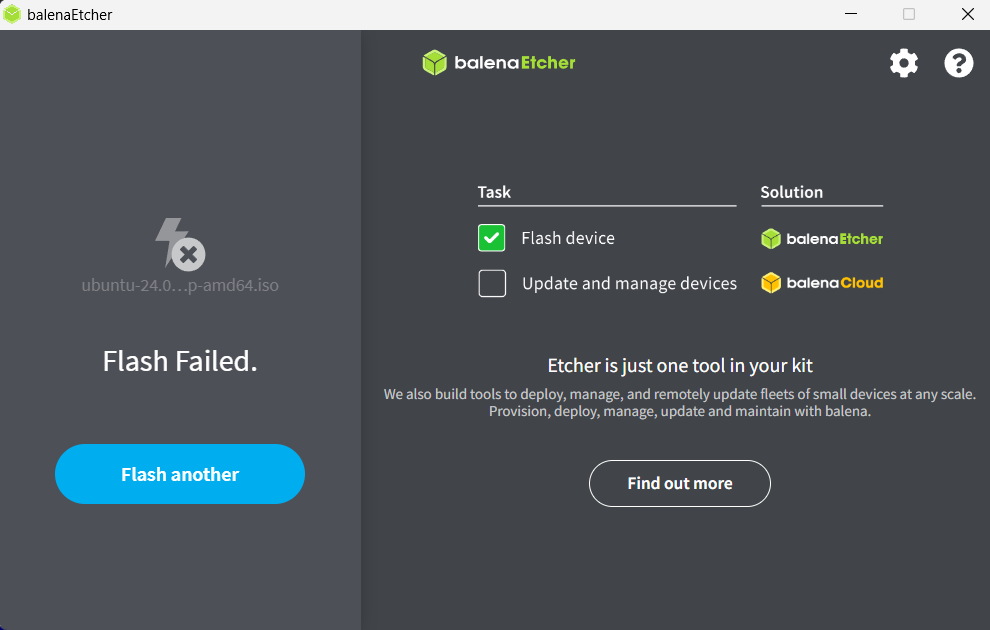
The issue lies in the fact that Chromebooks, with their streamlined Chrome OS, don’t offer the same level of file system access and control as traditional laptops. You can’t simply download an image file, extract it, and use a tool like Etcher or use dd to flash the image to an SD card. The process requires a different approach, and that’s where the Chromebook Recovery Utility comes into play.
Understanding the Chromebook Recovery Utility
The Chromebook Recovery Utility is an official Chrome OS tool designed to help users create recovery media for their Chromebooks. It allows you to prepare a USB drive or SD card to restore your Chromebook to its factory settings. However, this utility is not designed for general-purpose image flashing and is specifically tailored for Chrome OS recovery files.
A key limitation of the Chromebook Recovery Utility is its strict requirement for a file format typically associated with Chrome OS recovery images, often compressed and packaged as .bin files. This becomes a challenge when attempting to use the utility for other purposes, such as flashing PinePhone OS images, which are distributed in .img format. Since the utility is not intended for non-Chrome OS images, its use in this context may lead to errors or incompatibilities.
The Frustrating Journey: Finding the Right Solution
I spent countless hours trying to get various Linux distros to work on my PinePhone using my Chromebook. I attempted several methods, but none seemed to yield success. Here’s a breakdown of my journey:
Attempt 1: Download and Flash .img Directly
I started by downloading the PinePhone or PinePhone Pro image of my choice directly onto my Chromebook. I then inserted the SD card and tried to extract the “.img” file, assuming I could use a simple drag-and-drop method to flash it. Unfortunately, Chrome OS doesn’t allow direct access to the SD card’s file system, and I couldn’t find a way to initiate the flashing process.
Attempt 2: Exploring Chrome OS Apps
I scoured the Chrome Web Store and Google Play Store for apps that might offer a solution. I tried various file managers and image writing tools, but none of them provided the functionality I needed. Most apps were limited in their capabilities due to Chrome OS’s sandboxed environment, which restricts access to low-level system functions.
Attempt 3: Research and Online Forums
I turned to online forums and communities, hoping to find a solution. Many users suggested using the Chromebook Recovery Utility to flash images in general, but the instructions were often vague or assumed a certain level of technical knowledge. I tried following these guides, but the process always got stuck at the image selection stage, as my “.img” files were not recognized.

The Breakthrough: Manipulating Image Files
After numerous failed attempts, I finally stumbled upon a crucial piece of information: the Chromebook Recovery Utility expects a “.bin” file, not an “.img” file or other formats like “.iso”. This was the missing link in my journey. I realized that I needed to change the file extension and manipulate the image to make it compatible with the Recovery Utility.
Here’s how I did it:
- Download the PinePhone Image: Start by downloading the desired PinePhone image to your Chromebook. These images are typically available on the official websites of the Linux distributions you want to use.
- Extract the .img File: Most PinePhone images come in a compressed format, often as a “.gz” or “.xz” file. You’ll need to extract the “.img” file from this archive. On your Chromebook, right-click on the downloaded file and select “Extract to…” Choose a location, such as your Downloads folder, and extract the contents. If you have issues with the extraction process like I did, use the RAR app from PlayStore.
- Rename the File Extension: Here’s the critical step. Right-click on the extracted “.img” file and select “Rename.” Change the file extension from “.img” to “.bin.” For example, if your file is named “pinephone_image.img,” rename it to “pinephone_image.bin.”

This simple change is what the Chromebook Recovery Utility requires, and yes it really was that stupid simple.
Using the Chromebook Recovery Utility
Now that you have the correctly formatted image file, it’s time to use the Chromebook Recovery Utility to flash it to your SD card:
- Download and Install the Chromebook Recovery Utility: You can download the Chromebook Recovery Utility chrome extension here!
- Insert the SD Card: Insert the SD card into your Chromebook’s card reader. Make sure it’s formatted and empty, as the flashing process will overwrite all data on the card.
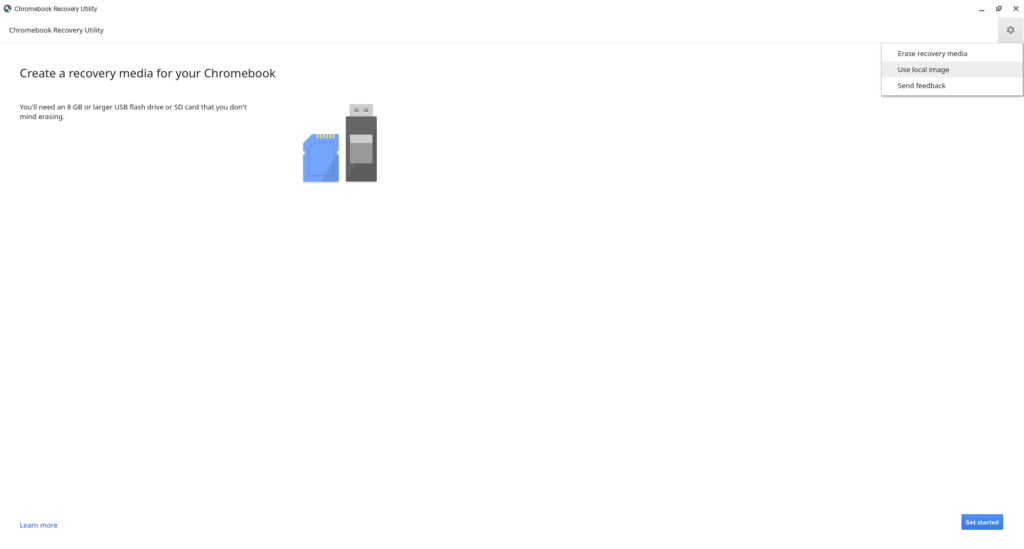
- Open the Chromebook Recovery Utility: Click on the time in the bottom-right corner of your screen, then select the “Settings” cog icon. Scroll down and click on “About Chrome OS,” then “Additional Information.” Under “Recovery,” click on “Create Recovery Media.” This will launch the Chromebook Recovery Utility.
- Select the Image File: In the utility, click on the gear icon “flash local image” Navigate to the location where you saved the renamed “.bin” file and select it. The utility will verify the file and prepare for the flashing process.
- Create Recovery Media: Once the file is selected, click on “Continue.” The utility will ask you to confirm the storage device if you want to flash the image.
WARNING: This act will delete all files on the SD Card, be sure to save anything important! Click on “Create now.” This will initiate the flashing process, and you’ll see a progress bar indicating the status. - Wait for Completion: The flashing process may take several minutes, depending on the size of the image and the speed of your SD card. Do not remove the SD card or interrupt the process. Once completed, you’ll receive a confirmation message.
Troubleshooting and Tips:
- File Extension Importance: The file extension change is crucial. The Chromebook Recovery Utility specifically looks for “.bin” files. If you encounter errors or the utility doesn’t recognize your file, double-check that you’ve correctly renamed the extension.
- Image File Integrity: If you encounter issues with the flashing process, try downloading the image again. Sometimes, incomplete or corrupted downloads can cause problems. Verify the checksum of the downloaded file to ensure its integrity.
Expanding Your Options: Exploring Different Distros
With this method, you can now flash various Linux distributions onto your PinePhone using your Chromebook. Some popular choices include:
- PostmarketOS: A versatile Linux distribution that offers a wide range of desktop environments and packages, making it highly customizable for the PinePhone.
- Manjaro ARM: Based on the popular Manjaro Linux, this ARM-optimized version provides a user-friendly experience and access to the Arch User Repository.
- Ubuntu Touch: A mobile-focused Linux distribution that brings the Ubuntu experience to the PinePhone, complete with a touch-optimized interface.
- Mobian: Designed specifically for mobile devices, Mobian offers a Debian-based experience with a focus on productivity and mobile usability.
Conclusion: Overcoming Chromebook Challenges
Flashing PinePhone images to SD cards on a Chromebook may seem daunting at first, but with the right approach, it becomes an achievable task. By understanding the limitations of Chrome OS and the capabilities of the Chromebook Recovery Utility, I was able to find a reliable method to flash Linux distros onto my PinePhone Pro.
The key takeaway is that the file format and extension are critical when working with the Chromebook Recovery Utility. By extracting the “.img” file and renaming it with a “.bin” extension, you can trick the utility into recognizing and flashing the image successfully.
This guide aims to save others from the frustration I experienced, providing a clear and structured path to achieving success. With this knowledge, you can explore the exciting world of Linux on the PinePhone, even when your primary device is a Chromebook. Happy flashing!
Read More:
The Quickest Way to Easily Block Annoying Ads for Ever!
Check out Bobbie Beach’s Space, where we will cover all sorts of various subjects, and help you solve headache inducing problems!